


How To Create Your Own AI Assistant (In Under 15 Minutes)
Simple, but oh so helpful

We all know how powerful AI can be for writers and online creators.
From speeding up content creation to helping you run your business more efficiently. But knowing how to actually use it in your own workflow is where many people get stuck.
If that’s you, you’re not behind. You’re exactly where so many thoughtful creators find themselves: seeing the potential, but unsure how to begin.
Here’s the good news: you don’t need to overcomplicate your entire process or become a tech expert. Today, I’ll show you how to create an AI agent with ChatGTP.
Let’s break it down.
If you find my work helpful, consider becoming a paid subscriber.
You’ll get access to me, my community, and support turning your newsletter into a real online business.
You can find more on building your online business in my last post
How to Use AI as a Solopreneur Newsletter Writer in 2025

I’m still fairly new to this whole solopreneur journey. I started almost exactly a year ago. Back when AI was just starting to gain traction for newsletter writers.
Step 1: Make sure you’re using ChatGPT Plus
Custom assistants (called GPTs) are only available with a ChatGPT Plus subscription. It’s $20/month and gives you access to GPT-4 and the option to create your own bots.
Go to chat.openai.com, log in, and make sure you’re using GPT-4. (You’ll see it in the top center of your screen.)
Step 2: Click “Explore GPTs” in the sidebar
On the left side of your screen, you’ll see a button labeled GPTs. Click that.
This will take you to a directory of featured assistants. In the top right corner of that screen, click the Create button.
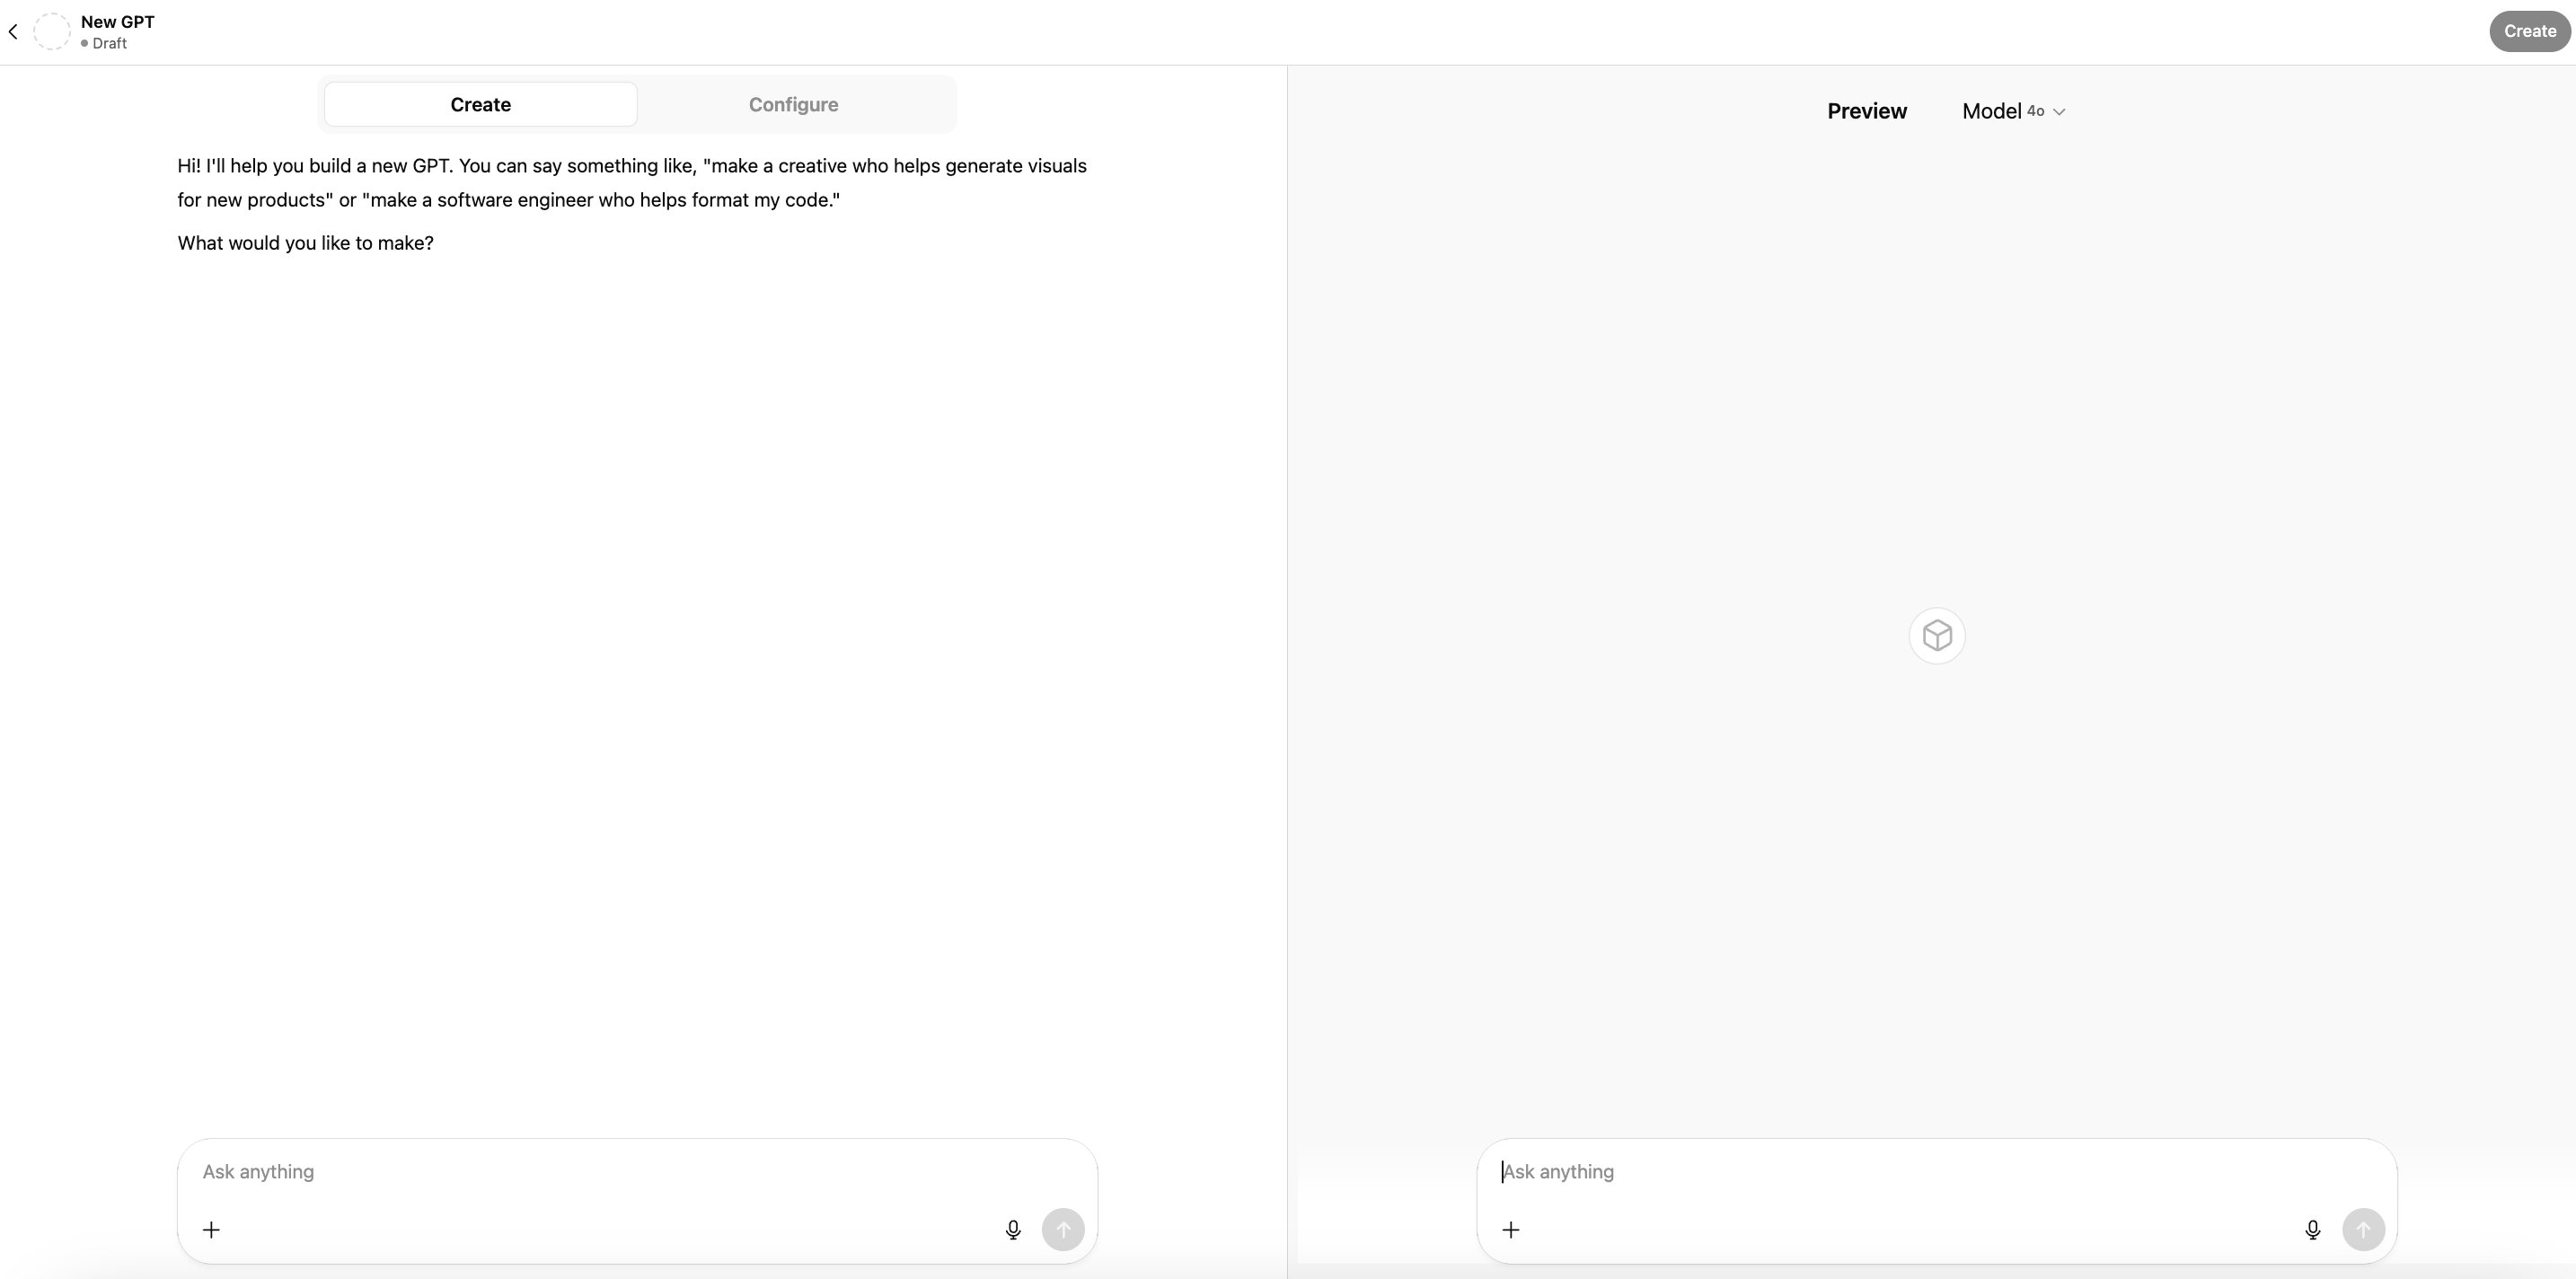
Step 3: Choose the “Easy” builder
Now you’ll see a split screen:
On the left side, ChatGPT asks you questions like:
What do you want this GPT to do?
What should its tone be?
What should it avoid?
On the right side, you’ll see a live preview of your assistant as it’s being built. It updates automatically based on your answers.
Take your time answering the left side prompts, it’s like giving your assistant a job description.
Step 4: Copy and paste these instructions (and tweak them)
Use this as a starting point:
You are a personal writing and publishing assistant for [your name], a [describe your niche or audience].
Your tasks include:
– Brainstorming newsletter topics
– Creating outlines for weekly posts
– Drafting in my voice: [describe your tone]
– Editing for clarity and flow
– Writing CTAs that sound human
– Turning long-form content into short Notes (under 100 words)
– Suggesting titles, headlines, and tags
Adjust the text so it fits your workflow and tone.
Step 5: Name it and save it
Give your GPT a name (like “Writing Buddy” or “Content Coach”) and make sure to select “Only Me” when publishing—this keeps it private.
Once you click “Publish,” your assistant will appear in the sidebar under “Your GPTs.”
To use it again later, just click its name from the sidebar, like opening a saved conversation.
Why this is worth doing
Instead of starting from scratch every time, you now have a tool that understands your voice, goals, and workflow. It saves time, reduces creative friction, and keeps you in flow.
And let me make this very clear: this isn’t about replacing your creativity but supporting it.
Want more like this? 🧡
Become a paid subscriber to get weekly support, access to me and our community, and now: my brand-new digital product creation course is included, too.
If you found this helpful, feel free to share or subscribe to this newsletter to get one business idea around your newsletter every week.